

The DStv Explora decoder is more than just a dumb set-top-box once you connect it to your home internet. Once connected, you will be able to stream supported services like ShowMax and also record your shows ton the decoder so that you can watch them later when it is convenient.
Let’s see how you will be able to connect your DStv Explora decoder to the internet.
- A WiFi cable router with unlimited internet connected
- The Explora decoder
- Ethernet cable
- Internet speeds between 2- 10 mbps (preferably dedicated internet)
Connecting using the Ethernet cable
If your DStv Explora decoder is in the same room as your router, its recommended to use an Ethernet cable. This gives a stable internet connection and you will avoid interference with WiFi and Bluetooth home devices that utilize the same frequency spectrum such as microwave cookers and other smart devices.


- Plug the Ethernet cable into the green Ethernet port at the back of your DStv Explora decoder and plug the other side of the Ethernet port into your internet capable router
- Use the connectivity checker on your Explora to confirm that you are connected to the internet
- Press “help” on your remote
- Select “tools”
- Select “Connectivity checker” and press ok
- Switch on your connected services, that is all services that required the internet to work. By default all connected services are turned off . So you will need to manually select which services you want to be enabled. To do this
- Press the blue DStv button on your remote
- Select “Settings”
- Select “User preferences”
- Select “Connected services “
- The choose which services you want on or off. e.g DStv Catch up plus or remote recordings can be turned on or off here.
Connecting the DStv Explora decoder using WiFi
This is a good option if your want no cables running around your sitting room the router is not in the same room as your DStv Explora decoder. As mentioned before only try this if you have a stable and unlimited internet connection as mobile internet will be a waste of time since its capped and the services will deplete you data within minutes.
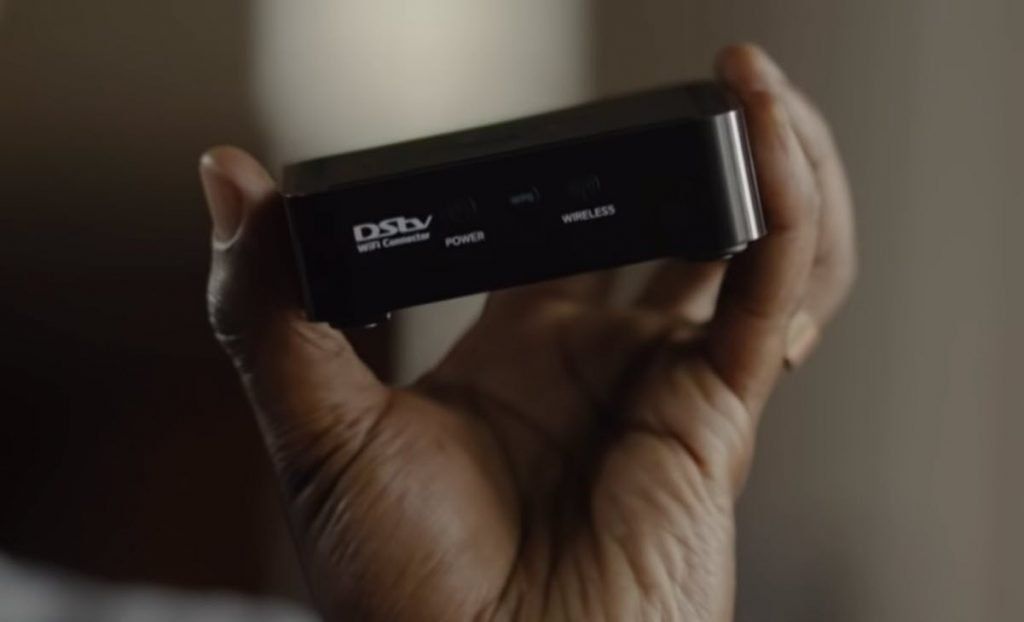
You can additionally get a a DStv WiFi connector to help you have a wireless connection between your Explora and router.
Check to see it your router has a WPS button. The Wi-Fi Protected Setup™ or WPS configures one device at a time. The WPS button is located either on the front or back panel of your router. It lets you easily connect WPS-supported client devices, such as wireless printers, to your router wirelessly.
ALSO READ: DStv removes these 3 channels
If your router doesn’t have the WPS button, you will need to set up your laptop close to your router before you can start.
- Connect the supplied power cable to the laptop USB port and the other end into the power input on the back of the connector
- Take the Ethernet cable and insert one end to the Ethernet port on your laptop and the other side into the Ethernet port at the back of the connector
- Open the web browser on your laptop and type in http://dstvwifi.local/ in the address bar
- Select your specific router from the list of option given and enter your WiFi password if any and then press connect.
- Once connected, you can now disconnect the connector from your laptop.
- Take the Ethernet cable and internet the one side into the green Ethernet port of the DStv Explora decoder and insert the other end into the connector’s Ethernet port
- Use the other cable to insert into either of the USB port of the Explorer and insert the other-side into the power input of the WiFi connector.

- The power LED on the front of the WiFi connector should at this point turn WHITE which means it has power. Wait for two 2 minutes
- The Wireless LED at the front of the connector will turn to white which means that your internet connection has been established
- Next go the DStv Explora decoder and use the connectivity checker to confirm that you are connected to the internet.
- Press “help” on your remote
- Select “tools”
- Select “Connectivity checker” and press OK
- Switch on your connected services, that is all services that required the internet to work. By default all connected services are turned off . So you will need to manually select which services you want to be enabled. To do this Press the blue DStv button on your remote
- Select “Settings”
- Select “User preferences”
- Select “Connected services “
- The choose which services you want on or off. eg DStv Catch up plus or remote recordings can be turned on or off here
Now you are ready to utilize your decoder on the internet.
It should be noted that DStv Catch Up Plus is exclusive to Premium subscribers. Data charges apply when using connected services and minimum of 2 Mbps dedicated internet is required to enjoy the streaming services without buffering.