


If there is one thing that is for sure, its the fact that internet has become a crucial part of our everyday lives, with everything from phones to TVs connected wirelessly. More and more people crave to be connected not only on the go, but also when at home. Home WiFi internet is becoming more popular in Uganda thanks to high bandwidth the services media and gaming.
Wireless home internet, more commonly known as “WiFi” (which itself is short for “Wireless Fidelity”), is the same home network you’ve always loved, now just untethered. which means you enjoy the internet without plugging a cord into your machine. It also allows you to have more devices on your home network at the same time, since you’re no longer limited by the physical number of ports on your network equipment.
A home Wi-Fi network makes for a more interconnected house. It lets your smart devices (such as laptops, smart phones, and tablets) talk with each other more easily. On top of that, it also lets you interact with any smart home devices (such as smart locks, or a smart lighting system) that you may have installed in your house in the most convenient way possible – from afar, and whenever you want.

But, if you’re new to technology or going wireless for the first time (or just moving and need a refresher), then setting everything up can be intimidating.
Here is a step-by-step guide to help you get set, and you’ll be online with WiFi internet at your home in no time.
How to Connect Your home WiFi Internet Yourself
1. Order Internet Service from a Provider
First things first, make sure your home has internet coming into it. No matter how much you plug in things on your end, if there’s no information coming in, then there’s going to be no internet for you.
Uganda has several Internet Service Providers including Roke Telkom, Citi Cable, Zuku, CSquared to mention but a few. So, be sure you’ve ordered home WiFi internet from any of your preferred provider before you start this process so you can get online as soon as possible. And if you need some advice and assistance ordering your cable, DSL, satellite, fiber, or dial-up internet connection, then ask them to help you explain their offerings.
2. Get a Modem

If you’re getting connected to the web from either a cable, DSL, satellite, or fiber internet service provider, then you’ll need a few pieces of equipment to get online.
And the most important of those is the internet modem.
Here’s why – a modem translates the data signal from your network port and makes it into something that your computers and devices can use to communicate information as well.
Essentially, your modem plugs into whatever type of data infrastructure you have — cable, telephone, satellite, or fiber — and communicates with your internet service provider’s network. Each modem is a little different, as far as receiving the signal goes, but each one gives you a standard Ethernet cable output (the standard internet plug), which you can then plug into any single computer to create an internet connection. If you have just a modem, you’ll be able to connect just one Ethernet-ready device, such as a computer, to the internet. But, if you want to hook up more than one device to the internet, then you will also need a router, one that’s either wired or wireless.
3. Get a Router
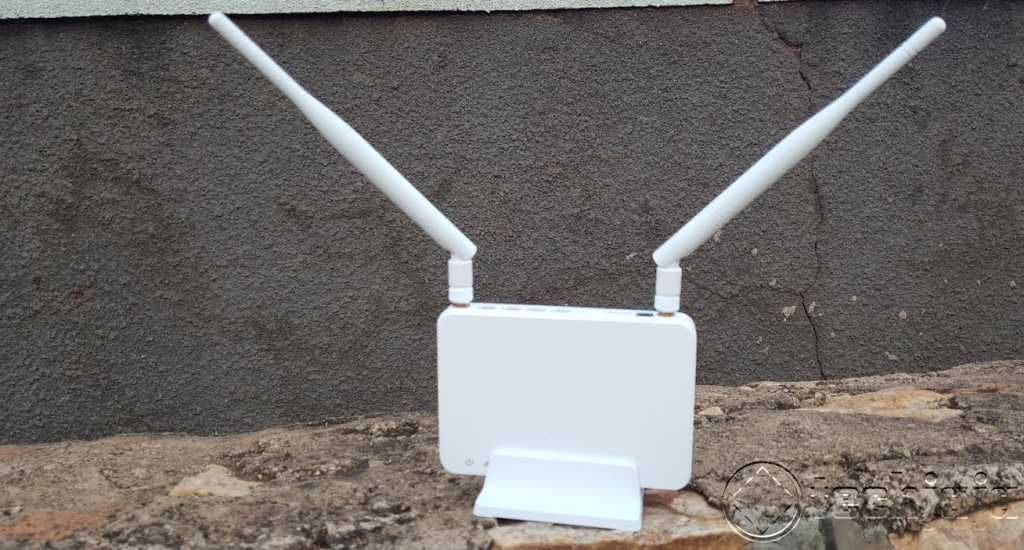
To connect several internet devices, you will need to buy your own router from either your internet service provider or one from a tech shop. You can even set up a VPN on your router such that all devices in the house will automatically connect to a secure network.
The router takes the internet connection from your modem and broadcasts it across your home network – either wirelessly (by hosting a WiFi network) or through (a limited number of) physical cords making wired connections.
This allows any number of devices to connect to your internet network.
And if you have a wireless internet router, then instead of having to plug all your devices into a wired router, your wireless router distributes your internet connection throughout your home, and you simply let them communicate with each other, and the internet, over the airwaves – wirelessly.
4. Connect the Equipment
Now that you’ve gathered all the important pieces, it’s time to physically connect them together to make the magic of the home WiFi internet happen right in your living room.
- First, take the cord from the ISP and plug it into your modem.
- This could be either the cable company’s coaxial cable, the telephone company’s DSL phone line, the satellite company’s data line, or the fiber optic company’s data line.
- Second, take the provided Ethernet cable (which looks like a thicker version of the phone cord) and plug it into both your internet modem and your wireless router.
- Third, take power cords of both devices, plug them into the devices, and then plug them into the wall outlets (in that order). If you have a surge protector, this would be a great time to use it.
- Fourth, flip the power switches and turn everything on. Let the modem and router calibrate themselves and communicate with each other for a few minutes. As they do this, you’ll see the lights on both devices flicker back and forth for a little while, which means they’re busy bringing the internet into your home.
5. Set Up Your Wireless (Wi-Fi) Network
Now that everything is all plugged in, connected, and buzzing with data communications, you should be able to open up the router’s web interface. It’s essentially a pre-internet portal that allows you to create, change, and maintain your home’s wireless network. Here’s how to do it:
- First, get the router’s manual (or look on the device’s underside) and grab the router’s default IP address and default log-in information. (You’ll see both of these pieces of information prominently labeled as such).
- Next, open up a web browser. (Popular ones include Google Chrome, Mozilla Firefox, and Apple Safari.) Type in the characters of that web (IP) address you’d just located, and it’ll open up the web interface.
- Finally, use the set-up wizard to walk through the process of giving the router all the vital information it needs to make the internet happen. From here, you can also click around the menus and change a few of your new Wi-Fi network’s settings. These include its log-in password (to keep your Wi-Fi secure) and its network name (feel free to make it your own).
After you complete the setup process, the router itself then receives a single public Internet Protocol (IP) address on the web. Servers on the backend of the internet communicate with your router, and the router transmits that information traffic to the appropriate devices on your home network.
4. Time to Surf Away!
And that’s it – you’ve set up your home WiFi Internet network! By now, you should be online and ready to enjoy all of the world from the comfort of your home. And to make sure you’re getting all the speed you’re paying for, perform a speed test of your brand new home network.